
 View Products


Last updated: September 3, 2026
ZoomInfo (now trading as Nasdaq: GTM) can feel like a lot to take in at first, with separate modules for sales, marketing, talent, operations, intent tracking, chat, and forms all bundled under one login. Once you know what each piece does, though, the platform is far less intimidating. It runs on a large, continuously updated database of company and contact records, along with search filters and automation built to speed up prospecting and outreach.
So where do you actually start?
First, sign up and choose a plan that matches your team’s size and goals. Use the database and its search filters, along with buyer intent signals, to find people worth reaching out to. Then connect your CRM so records sync automatically and your outreach stays organized instead of scattered across spreadsheets.
If you’re new to ZoomInfo and want to get more out of it, this walkthrough covers the setup steps and core features you’ll use most, along with the tradeoffs worth knowing before you commit to a workflow.
Getting Started with ZoomInfo: The First Steps
There’s a lot packed into ZoomInfo, and the fastest way to get comfortable with it is to work through setup in order rather than jumping straight into search.
The sections below walk through account creation, the dashboard layout, and profile settings you’ll want to configure before you start prospecting in earnest.
Signing Up for ZoomInfo: A Step-by-Step Guide
Here’s how the sign-up process typically works:
- Visit the ZoomInfo Website: Go to the ZoomInfo homepage and click on the “Sign Up” or “Free Trial” button.
- Fill Out the Registration Form: Enter your business email, name, company name, and job title in the provided fields.
- Verify Your Email: Check your email for a verification link from ZoomInfo and click on it to confirm your account.
- Choose a Subscription Plan: Select a plan that fits your business needs. You can start with a free trial to test the platform’s features.
- Complete the Payment Information: Once you have been through ZoomInfo pricing plans, choose what you need and pick a plan. Enter your payment details to activate your account.
Getting Used to The ZoomInfo Dashboard
Once you’re signed up, spend a few minutes getting oriented before diving into search:
- Dashboard Overview: The main dashboard gives you a quick view of the platform’s features like search, alerts, and recent activity.
- Search Functionality: Use the search bar to find specific companies or contacts. You can search by name, industry, location, and more.
- Alerts and Notifications: Set up alerts to get notified about new or updated information relevant to your interests.
- Accessing Reports and Analytics: The dashboard provides reports on market trends, campaign success, and more. Use these to make informed decisions.
- Customizing Your View: You can customize the dashboard to show the tools and data you use most often for easier access.
Setting Up Your Profile for Maximum Efficiency
Finally, take a few minutes to configure your profile:
- Profile Information: Fill in your profile with accurate details about your role and company. This helps ZoomInfo tailor the data and alerts you receive.
- Preferences and Settings: Adjust your settings to control the types of notifications you get and how often you receive them.
- Integrations: Connect ZoomInfo with your CRM or marketing automation tools to sync data and improve workflow.
- Training and Resources: Take advantage of ZoomInfo’s training materials and tutorials to get the most out of the platform.
How to Use ZoomInfo for Lead Generation
ZoomInfo’s core value is its contact and company database, which is built to help teams connect with the right people, run
effective sales processes, and build targeted marketing campaigns.
Here’s how the individual modules fit together in practice.
How to Use ZoomInfo SalesOS
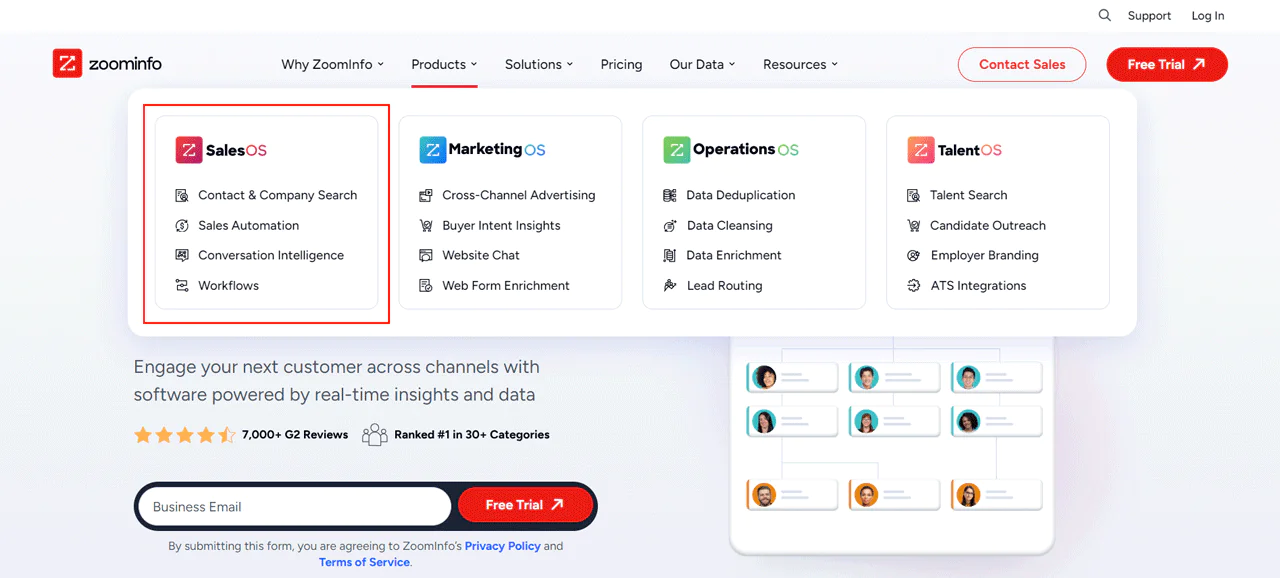
Using SalesOS well means leaning on it to find potential customers, reach them with relevant messaging, and keep sales activity organized in one place rather than across disconnected tools.
Accurate contact data, automated sequences, and CRM integration are what make that possible. Here’s how the workflow typically breaks down.
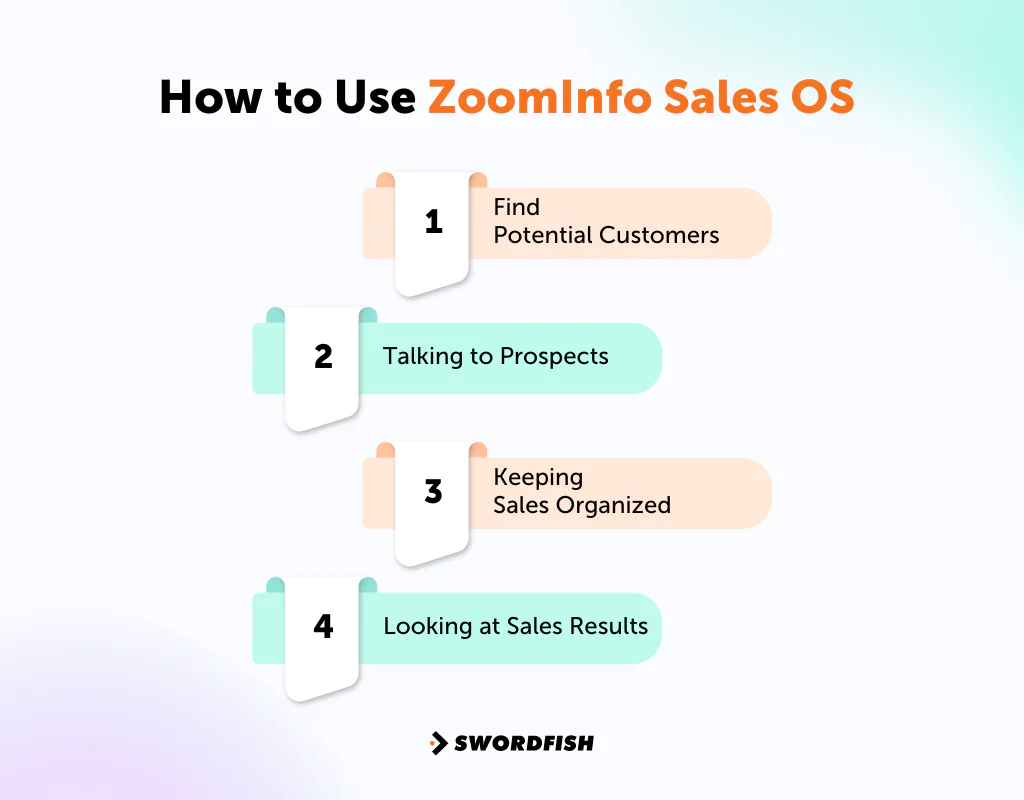
Step 1: Utilize Foundational Data
Start with ZoomInfo’s foundational data to connect with potential buyers effectively. Look for accurate B2B contact information, including direct dials and verified email addresses.
This step matters because reaching a buyer at the wrong moment, or with a stale number, wastes the effort. Explore professional profiles to understand job responsibilities, work experience, education, and social links.
Watch for update alerts on target profiles, since job changes and promotions are exactly when outreach timing matters most.
Step 2: Get Company Insights
Next, deepen your prospecting by mapping the decision makers within target companies using company search.
ZoomInfo provides departmental org charts, decision-makers’ direct contact information, and insight into company initiatives, information that’s useful when you’re chasing high-value deals or renewals.
Many teams use this feature primarily as a
contact finding tool. If that’s your goal, here’s a simple sequence to follow:
- Start Your Search: Use the main search bar to begin. You can search for companies or contacts by name, industry, or location.
- Review Search Results: Results will display relevant companies or contacts. Click on a name to view detailed information, including contact details, company size, and revenue.
- Saving Searches: You can save your searches for easy access later. This is helpful for tracking specific companies or industry trends.
Step 3: Explore Advanced Firmographics
Firmographic filtering is where SalesOS earns its keep. The platform’s B2B search engine offers a large set of company filters for combining criteria, so you can move through your addressable market with more precision than a basic keyword search allows.
Layer in CRM, marketing automation, and engagement filters to narrow further, so your sales and marketing efforts stay targeted rather than scattershot.
This step is about precision: finding and connecting with prospects most likely to convert, not just prospects who technically match a title.
If you’re building a prospecting workflow around advanced search filters, start by defining your ideal customer profile first.
Then use ZoomInfo’s search and filter tools to identify leads that match your criteria. Here’s the general flow:
- Access Advanced Filters: Next to the search bar, find and click on the “Advanced” option to open a list of detailed filters.
- Select Criteria: Choose from various criteria like job function, seniority level, company revenue, and technology use to narrow down your search.
- Apply Filters: After selecting your criteria, apply the filters to refine your search results. This helps you find the most relevant prospects.
Step 4: Keep Sales Organized
Once outreach is underway, tracking matters as much as sending. Keep an eye on communications with leads, including emails, calls, and their responses, so you can see what’s actually working.
Linking SalesOS with your CRM keeps lead and customer information current, so your team is never working from outdated records.
Step 5: Look at Sales Results
Finally, measure how well your sales activities are performing.
Review reports on email opens, call responses, and closed deals, then use that data to adjust your approach rather than repeating what isn’t converting.
Keep iterating based on what the data tells you. Small changes in messaging or cadence often produce measurable shifts in response rates.
How to Use ZoomInfo MarketingOS
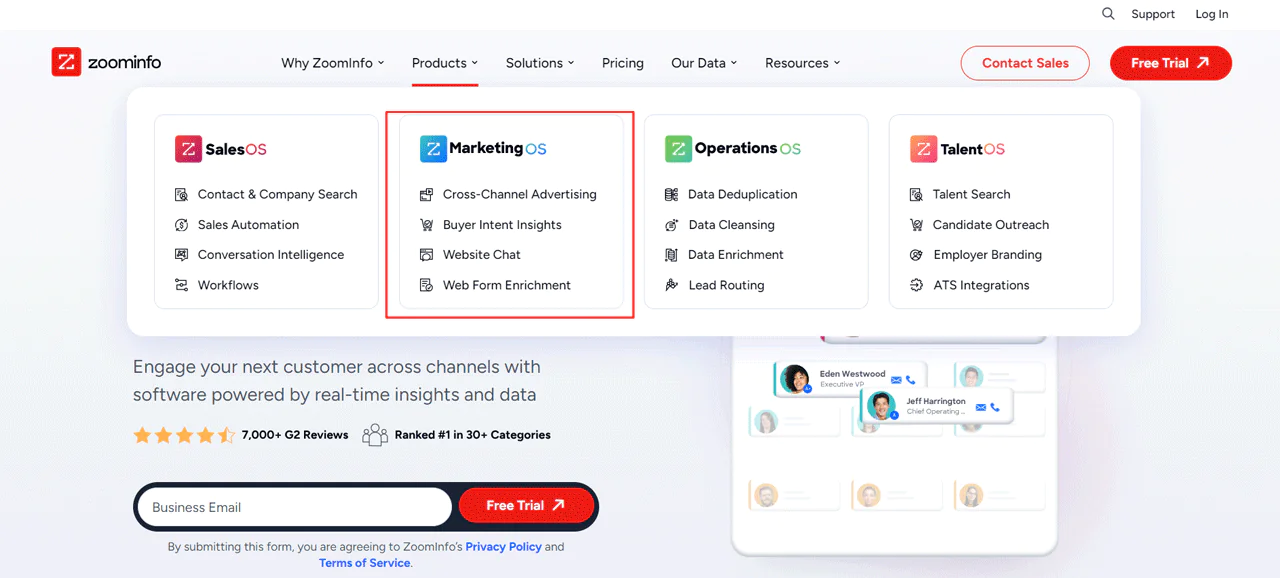
MarketingOS is built to help you identify your ideal customers, build relevant content, and measure how well campaigns are performing.
It gives you the data and automation needed to reach buyers efficiently and track how your
marketing strategies are actually working, not just how they feel like they’re working.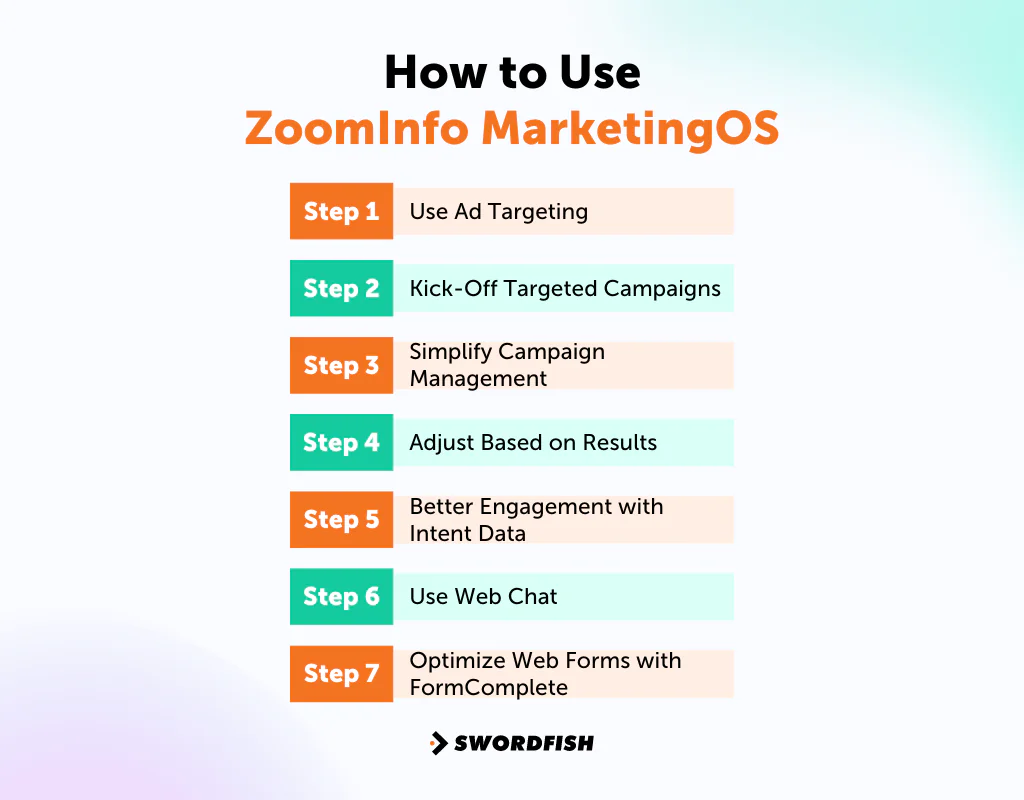
Step 1: Use Ad Targeting
Start with MarketingOS’s detailed search to filter potential leads by industry, company size, and job role.
Focus on company attributes and buying signals to identify accounts and buyers most likely to convert. This keeps ad spend focused on people plausibly interested in your product, based on title, seniority, and department, rather than a broad audience.
Step 2: Kick-Off Targeted Campaigns
Once you’ve pinpointed your audience, launch specific display and social media ads for companies showing interest in your area. This approach targets your ads more effectively, making sure they’re seen by potential customers ready to engage.
Step 3: Simplify Campaign Management
ZoomInfo’s platform simplifies managing your ads across different networks by automating campaign delivery and optimization. You can control creative content, audience targeting, and budget all from one place, making your ad campaigns more efficient.
Step 4: Adjust Based on Results
Keep an eye on how your ads perform and make necessary adjustments. ZoomInfo gives you insights into ad performance, enabling you to tweak your strategy in real time. This continuous improvement helps better target over time, ensuring your advertising budget is used effectively to grow your pipeline.
Step 5: Better Engagement with Intent Data
Align your ideal customer profile with ZoomInfo’s intent data to find prospects actively researching solutions like yours. This means identifying signals that indicate buyer interest, so you can focus effort on sales-ready accounts instead of cold lists.
Next, pinpoint decision-makers within those interested companies so outreach reaches the right people. Finally, feed that intent data into your CRM and marketing tools to automate and refine engagement over time.
By concentrating on prospects showing real buying signals, you make every interaction count instead of spreading effort thin across low-intent contacts.
Step 6: Use Web Chat
ZoomInfo Chat turns your website into an active sales channel, routing qualified visitors to your team in real time.
It’s straightforward to set up and can improve pipeline flow by engaging visitors as they browse and scheduling meetings without manual follow-up. Chat flows can be tuned with automation rules.
It uses visitor data to identify and interact with potential buyers, directing chatbot conversations based on intent and firmographic signals.
Step 7: Optimize Web Forms with FormComplete
FormComplete reduces forms down to a single business email field, then enriches the rest of the lead’s data automatically.
This can improve website conversion rates by appending essential data points to incoming leads, which supports segmentation, scoring, and faster follow-up.
It also tracks abandoned forms to recover partial submissions, and its real-time email verification cuts down on invalid entries reaching your CRM.
How to Use ZoomInfo TalentOS
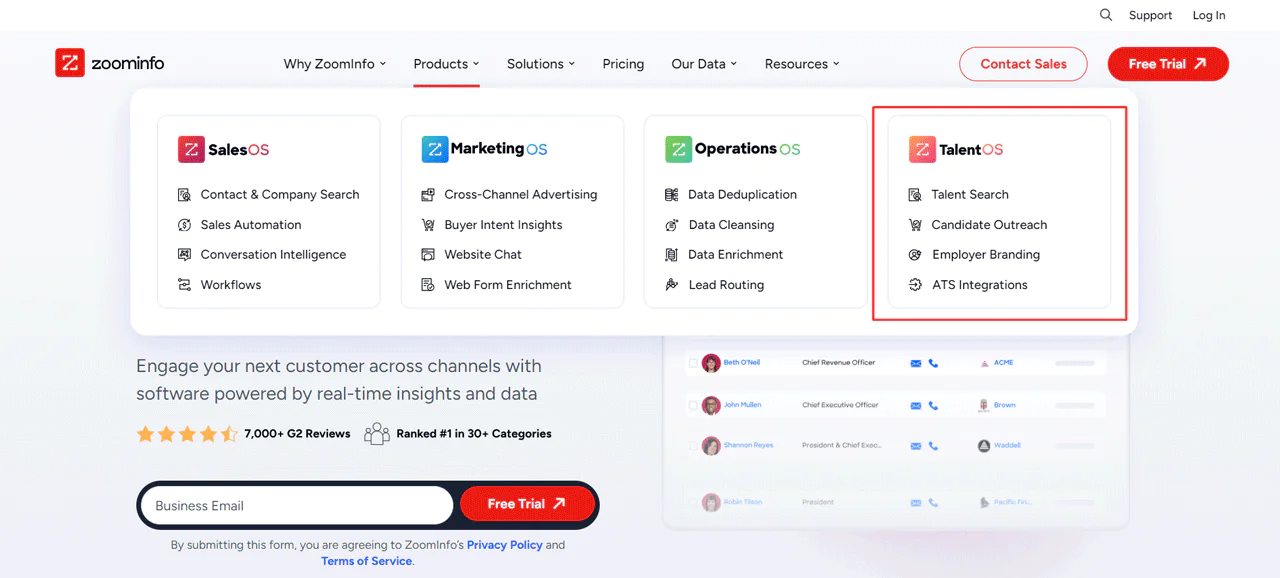
TalentOS is aimed at recruiters and hiring teams looking to find and connect with candidates who aren’t actively job hunting.
It offers tools for identifying passive talent, reaching them with personalized outreach, and managing a pipeline of candidates through the hiring process.
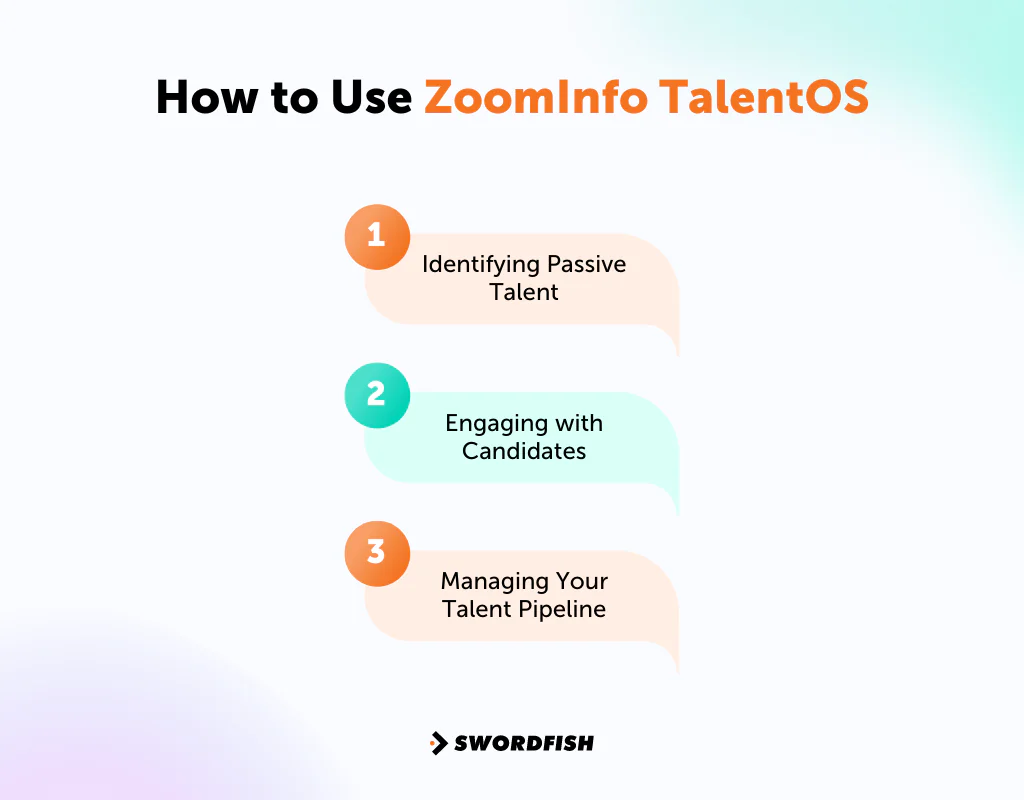
Step 1: Identify Passive Talent
TalentOS’s database makes it easier to find passive candidates matching your hiring criteria.
Use the platform’s search features to narrow candidates by job function, experience level, industry, and current company size. This helps you locate people who fit the role and might be open to a move, rather than only people actively applying.
TalentOS also surfaces diversity and inclusion insights that can support broader hiring goals.
Step 2: Engaging with Candidates
Once you’ve identified candidates, TalentOS supports personalized, automated outreach: direct emails or automated calls with a pre-recorded message if the call goes unanswered.
Combining these into drip sequences tends to improve engagement with passive candidates who aren’t checking job boards daily.
Step 3: Manage Your Talent Pipeline
TalentOS includes tools for tracking candidates through the recruitment process. Projects let you group searches by open role and build separate talent pools for each position.
This lets your team track candidates as they move through hiring stages. The TalentOS Chrome extension adds sourcing efficiency by letting you view candidate data without leaving your browser.
You can also integrate TalentOS with your ATS so top candidates flow into your recruitment workflow automatically.
How to Use ZoomInfo OperationsOS
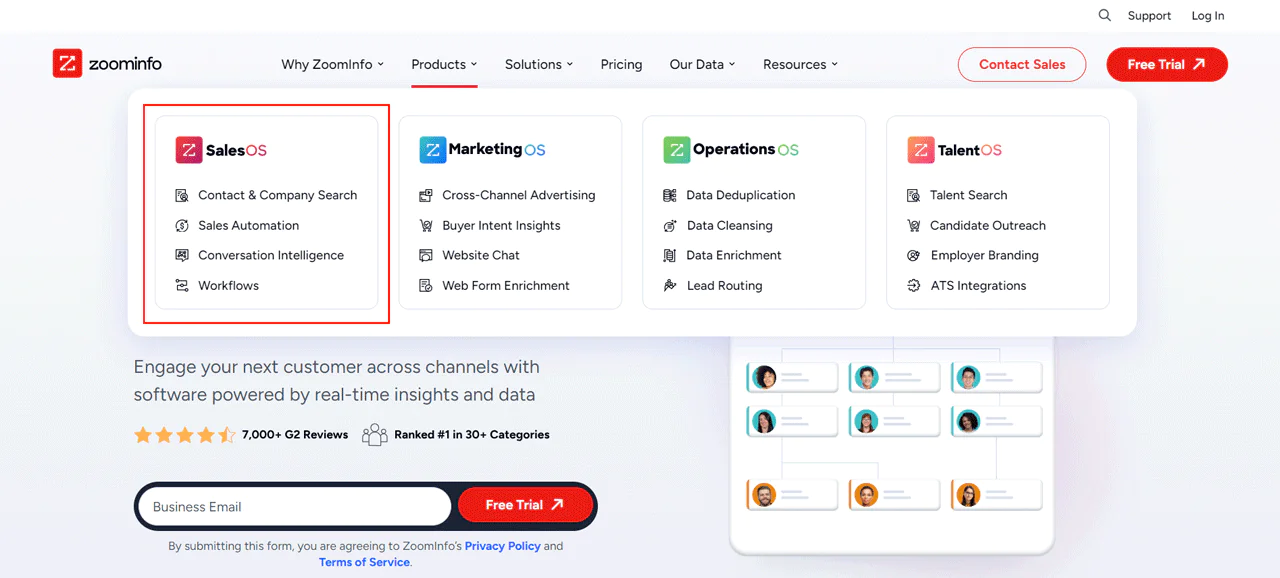
OperationsOS targets one of the least glamorous but most important parts of any ops role: data management. Done right, it leaves you with data that’s clean, organized, and usable across systems.
The platform covers deduplication, cleansing, enrichment, and related functions, all aimed at keeping data quality consistent wherever it lives.
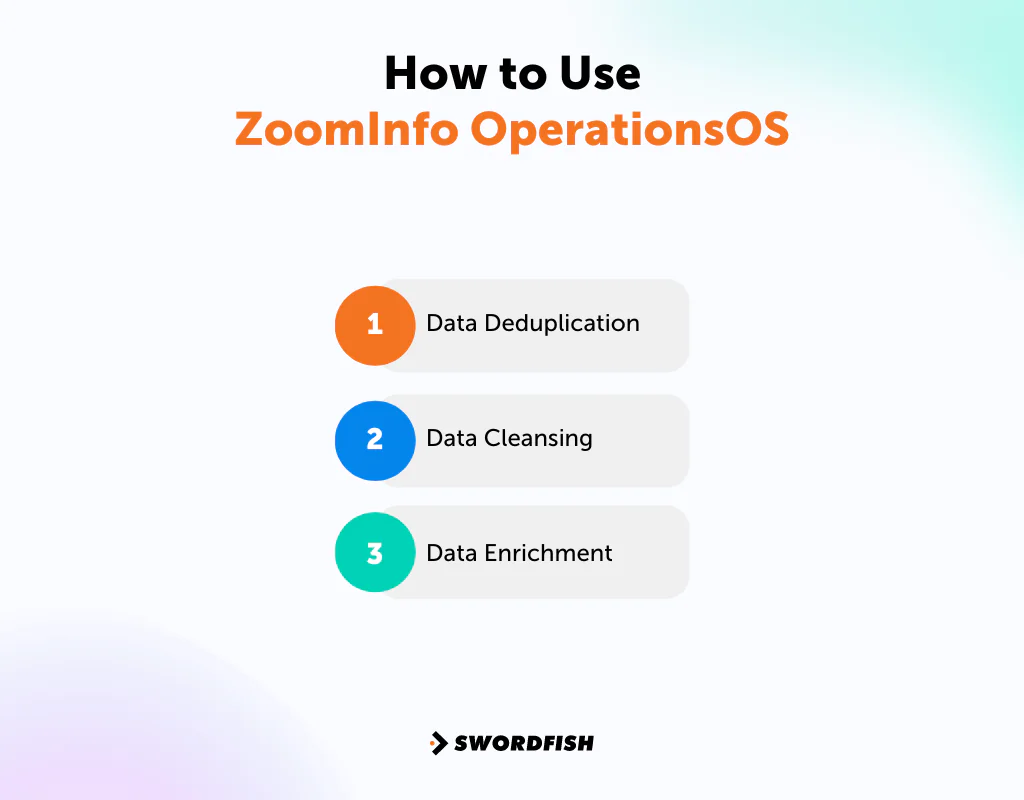
Step1: Data Deduplication
Many
ZoomInfo alternatives don’t tackle deduplication the way OperationsOS does. The platform automates matching and deduplication so your database only holds unique records. You do this through:
- Customized Rules for Deduplication: First and foremost, set up rules that fit your specific data needs. It’s where duplicates are identified and merged according to your criteria.
- Merging and Archiving: Then, merge duplicate records and archive the unnecessary ones. This keeps your database clean and efficient.
- Real-Time Prevention: Then stop duplicates from entering your system from the start, maintaining the integrity of your data.
Step 2: Data Cleansing
Keeping data free from errors and inconsistencies matters, and OperationsOS handles cleansing in a few ways:
- Automated Corrections: First, use pre-configured formatting rules to automatically correct common data errors.
- Normalization and Standardization: Then, make sure that data like phone numbers and company names follow a consistent format across your records.
- Bulk or Real-Time Transformation: Finally, cleanse your data in bulk or adjust it in real-time as new information comes in.
Step 3: Data Enrichment
You can enrich your database with additional information to build a fuller picture of contacts and companies. OperationsOS supports this by:
- Connecting to Multiple Data Sources: You can integrate with various API-based data sources to pull in additional information.
- Customize Enrichment Logic: Then, use waterfall logic to specify which data gets enriched from which source, customizing the process to your needs.
- Enrich in Bulk or Real-Time: Add missing information to your records either in large batches or as new data is entered.
Step 4: Lead Scoring
You can also improve routing efficiency with ZoomInfo’s lead routing tools, which connect leads with the best-fit rep faster.
- Round Robin Routing: Distribute leads evenly among sales reps to ensure a balanced workload and maximize engagement opportunities.
- Automated Workflows: Then simplify lead assignment with customizable rules based on geography, industry, or rep expertise, making complex processes simple.
- Align Lead Routing: Adjust lead distribution in real-time based on sales rep availability, ensuring leads are always handled by active team members.
How to Use ZoomInfo Intent
ZoomInfo Intent tracks online research behavior to flag prospects who are actively looking at products or services similar to yours, before they’ve filled out a form or requested a demo.
To use it, integrate intent data into your existing sales and marketing workflows. Identify prospects showing interest in your category, tailor your messaging to what they’re researching, and prioritize outreach toward accounts most likely to be ready to buy.
Here’s a more detailed breakdown:
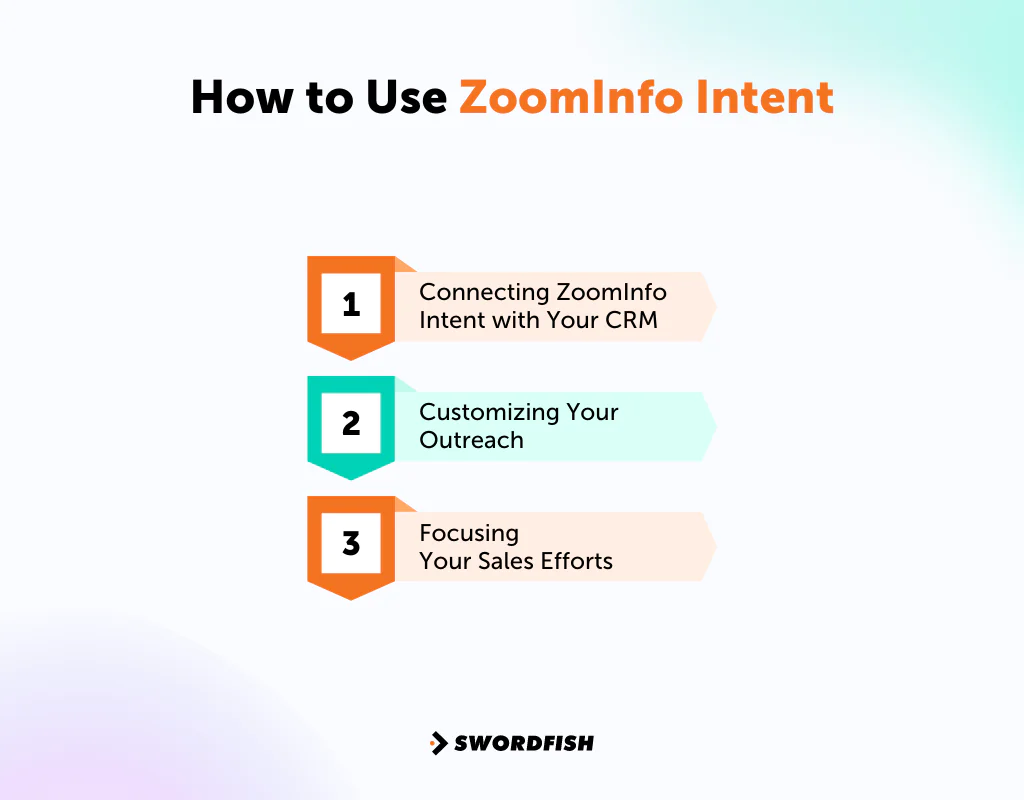
Step 1: Connect ZoomInfo Intent with Your CRM
- Easy Integration: Link ZoomInfo Intent data with your CRM. This action puts valued information about potential customers’ interests directly into the hands of your sales and marketing teams.
- Lead Scoring Based on Intent: Assign scores to leads based on their online activities. Leads with higher scores are more interested in what you have to offer, so you should contact them first.
Step 2: Customize Your Outreach
- Adjusting Your Messages: Use the data from ZoomInfo Intent to make your emails, calls, and marketing materials speak directly to what each prospect cares about.
- Creating Focused Campaigns: Set up marketing efforts that directly address the topics your prospects are researching. This makes your outreach more relevant and likely to catch their attention.
Step 3: Focusing Your Sales Efforts
- Spotting High-Interest Leads: Give priority to leads that show a strong interest in your area, as indicated by their online research.
- Timing Your Engagement: Contact prospects when they’re most engaged with topics related to your products or services, increasing the chance they’ll be open to hearing from you.
How to Use ZoomInfo Engage
ZoomInfo Engage is a sales engagement platform built to boost productivity for teams whose outreach has stalled. It combines communication tools, data insights, and CRM tracking in one system.
The point is to simplify the sales process and help reps close more deals without juggling five disconnected tools.
To use it, start by setting up your account and connecting it to your CRM and email systems.
Then use its tools to identify prospects, automate and personalize outreach, manage communications, and analyze engagement metrics to refine your strategy over time.
Here’s how the workflow breaks down:
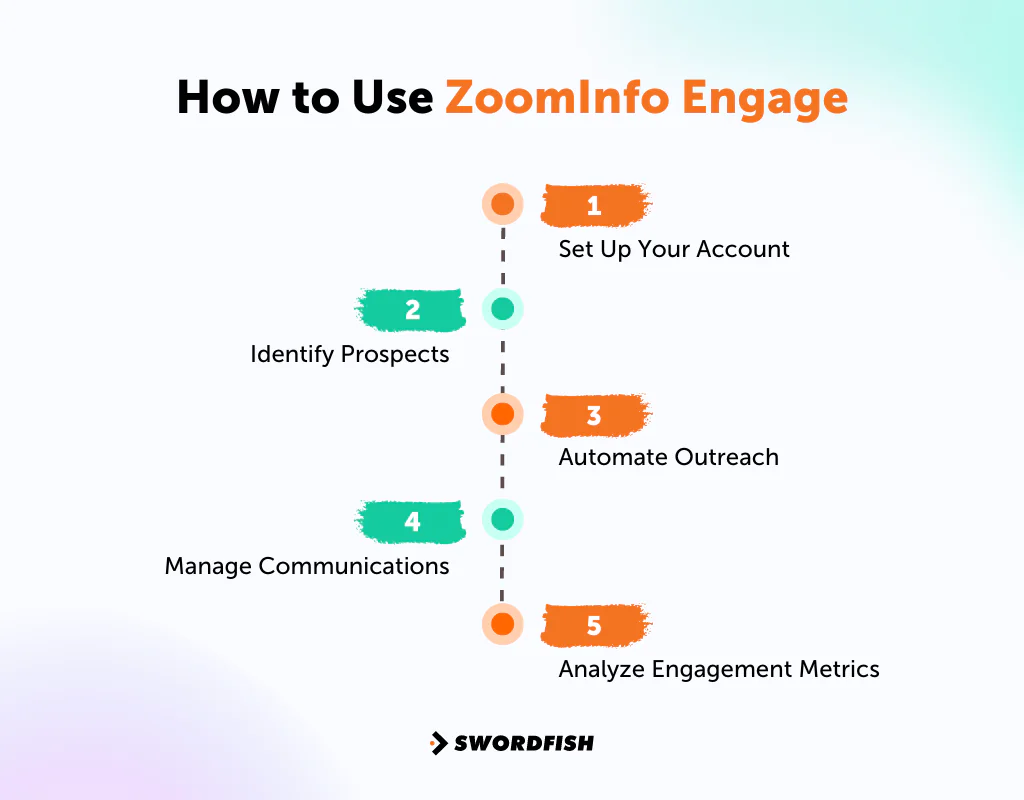
Step 1: Set Up Your Account
Begin by logging into ZoomInfo and accessing Engage.
Follow the onboarding wizard to input your contact details and connect to your email server (Google or Microsoft Office 365). Then integrate your CRM (Salesforce, HubSpot, or Microsoft Dynamics).
This foundational step assures you that Engage is tuned to your sales environment.
Step 2: Identify Prospects
Next, lean on the integrated SalesOS search to identify and target potential leads precisely.
Use advanced search filters within Engage to segment prospects by industry, company size, and job title, so your effort concentrates on the most promising leads instead of a broad list.
Step 3: Automate Outreach
With Engage, automate outreach by setting up personalized email campaigns and call sequences. Schedule these communications for consistent engagement without needing to manually trigger each touchpoint.
Step 4: Manage Communications
Engage gives you a consolidated view of communications with each prospect: emails sent, calls made, and responses received. This centralized tracking helps you clearly understand each prospect’s engagement level and interests.
Step 5: Analyze Engagement Metrics
Detailed analytics let you measure how effective your outreach strategy actually is.
Analyze metrics such as open rates, click-through rates, and conversion rates to identify what’s working and where there’s room to improve.
How to Use ZoomInfo Chorus
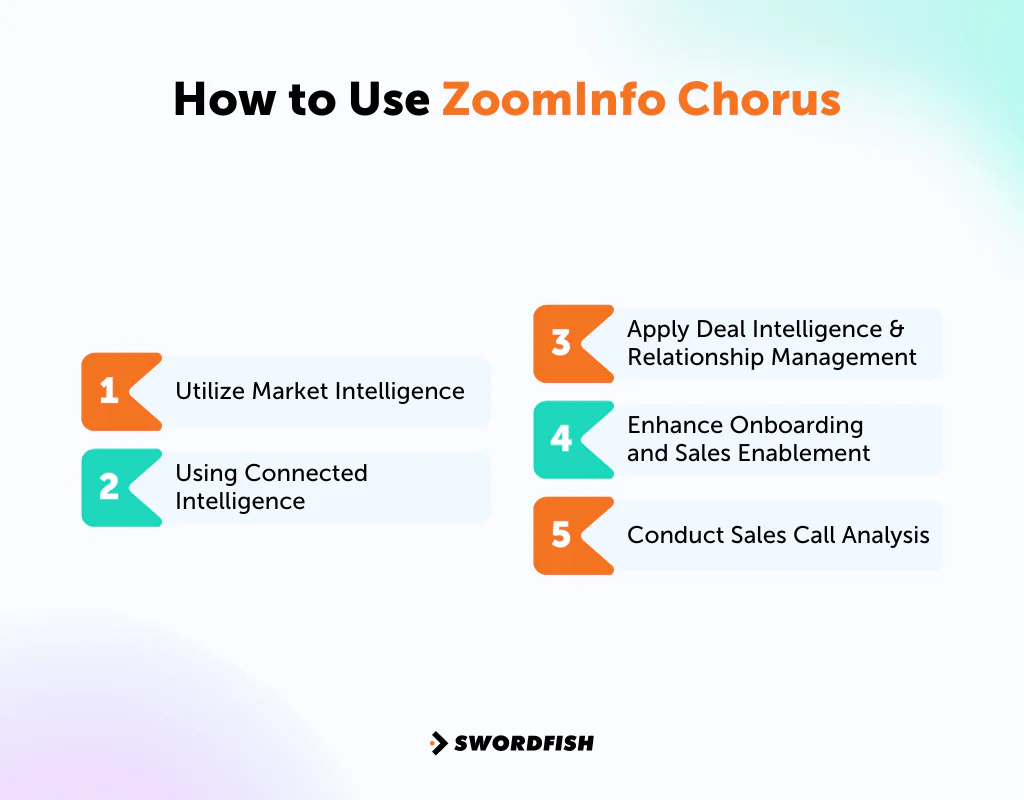
ZoomInfo Chorus is a conversation intelligence tool that uses machine learning to turn customer interactions into usable insights.
It’s designed to help teams understand why deals are won or lost, supporting more accurate forecasting and planning by analyzing customer calls, meetings, and emails.
Here’s how to use it:
Step 1: Utilize Market Intelligence
Start with Market Intelligence to understand the nuances of your market and customer preferences.
This involves capturing and analyzing customer conversations to identify trends and competitive insights.
Use that intelligence to adjust messaging so it aligns with current market demands and resonates with your target audience.
Step 2: Using Connected Intelligence
Next, extend your strategy with connected intelligence, which unifies contact and company intelligence into a holistic view of your relationship history with each contact or company.
Use that comprehensive view to personalize future outreach, so every interaction is informed by past engagement rather than starting from scratch.
Step 3: Apply Deal Intelligence & Relationship Management
Apply deal intelligence and relationship management to get a deeper read on your sales pipeline. Contacts and communication details sync automatically to your CRM, giving a full view of the relationships driving your revenue.
This visibility supports early identification of deal risk, so you can intervene before an opportunity stalls out.
Step 4: Enhance Onboarding and Sales Enablement
Focus on onboarding and sales enablement to lift team performance. Analyze successful sales interactions to identify behaviors and strategies worth replicating across the team.
This shortens the learning curve for new hires and helps standardize best practices.
Step 5: Conduct Sales Call Analysis
Finally, run sales call analysis to refine your approach. Access transcriptions and insights from calls to understand customer needs, objections, and feedback.
That analysis lets teams adjust tactics, sharpen communication, and align sales strategy with what customers actually expect.
How to Use Advanced Techniques in ZoomInfo
The basics only get you so far. Once you’re comfortable with core search and outreach, it’s worth exploring the more advanced tools below.
-
ZoomInfo ListMatch
ListMatch is a feature within SalesOS and ZoomInfo Lite that matches your existing lead or target account lists against ZoomInfo’s data cloud.
It lets you upload lists of companies or people using identifiers like emails, company names, or URLs, then updates your data with the most current information available.
Here’s how to build a list:
Step 1: Starting with ListMatch
Open SalesOS or ZoomInfo Lite and go to the Lists tab. Here, you’ll find the option to Upload Lists.
A pop-up will ask if your list consists of contacts or companies. Make your selection based on the data you’re working with.
Step 2: Upload and Verify Your List
Choose your upload method: a .CSV file or Text Input. For .CSV uploads, there’s no need for special formatting; ZoomInfo interprets the file and maps the data points for you.
For Text Input, paste your data into the text box with one item per line.
After uploading, check that ZoomInfo correctly mapped your data points. This step matters for match accuracy.
Step 3: Finalize Your List
Give your file a name and, if desired, add a description or tag. This could be anything from “John’s old accounts” to “Q1 Targets,” helping you organize and identify your lists easily.
Step 4: Mapping Verification
On the mapping screen, confirm that all records are correctly matched.
SalesOS will attempt to map your columns to the appropriate fields, like matching a “Website” column to the URL field. Confirm any fields you recognize are mapped correctly.
Once satisfied with the mapping, submit your list. It’s then processed and made available under All Lists on the main Lists page.
Step 5: Using Your List
Once your list is ready, you’ll have several options available, such as exporting, renaming, or deleting your list, found next to your list under the ellipsis menu.
To filter and refine your list further, select Open in Search from the Status column, which is useful for narrowing prospects on additional criteria.
Step 6: Exporting Your List
Choose Redeem if you’re appending data to your list and exporting it for external use or sharing. This is the straightforward path when your goal is enriching a list with more detailed ZoomInfo data.
-
Integrations in App Market
Integrating ZoomInfo with your CRM and
email marketing automation tools can save time and improve data accuracy. Here’s how to connect it to a few popular platforms:
Salesforce Integration
- Hover your cursor to your ZoomInfo settings and select ‘Integrations.’
- Choose Salesforce and enter your login credentials to connect.
- Map ZoomInfo fields to Salesforce fields to ensure data syncs correctly.
HubSpot Integration
- In ZoomInfo, find the Integrations section and select HubSpot.
- Log in to your HubSpot account to authorize the connection.
- Customize the data mapping to fit your HubSpot setup.
Marketo Integration
- Go to Integrations in ZoomInfo and pick Marketo.
- Provide your Marketo credentials and set up the data flow between the two platforms.
- Adjust settings to control how and when data is updated or transferred.
Microsoft Dynamics Integration
- Within ZoomInfo, locate the Integrations option and select Microsoft Dynamics.
- Log in with your Dynamics credentials to link the accounts.
- Configure the data mapping to ensure proper data alignment.
Eloqua Integration
- Find the Integrations menu in ZoomInfo, then choose Eloqua.
- Enter your Eloqua login details to establish the connection.
- Set up data synchronization preferences according to your needs.
-
Customizing Data Exports to Fit Your Workflow
Customizing data exports lets you use ZoomInfo data effectively within your existing workflows. Here’s how to tailor exports:
Step 1: Select Data for Export
Conduct a search in ZoomInfo and select the contacts or companies you wish to export. Then choose ‘Export’ and then ‘Customize Export’ to select specific data fields.
Step 2: Choose Export Format
Decide on the format that works best for your tools and processes, such as CSV or Excel. Then configure any additional options, like file naming conventions or export frequency.
Step 3: Automate Exports
Set up automated exports for regularly updated data sets, so you always have current information. Specify criteria for automatic exports, like changes in company size or industry news.
-
Competitive Analysis and Market Research
ZoomInfo can also help you track competitors’ moves and broader market trends. Here’s how to use it for that purpose:
Step 1: Identifying Competitors
First, use the search function to find companies in your industry or niche. Look at company profiles to understand their size, location, and focus areas.
Step 2: Analyzing Market Trends
Monitor news and alerts related to your industry within ZoomInfo. Use the ‘Scoops’ feature to get insight into funding rounds, product launches, or other significant events.
Step 3: Gathering Competitive Intelligence
Examine the technologies and tools listed on competitor profiles to spot trends and common practices. Track leadership moves and hiring trends among competitors to anticipate strategic shifts.
How to Use ZoomInfo Effectively: Best Practices
Knowing the features is only half the job. Applying them with an eye toward compliance, accuracy, and genuine relevance is what separates teams that get consistent results from teams that burn through data without much to show for it.
What we think of ZoomInfo is that it works best when a few rules are kept front of mind. Here are some guidelines worth following.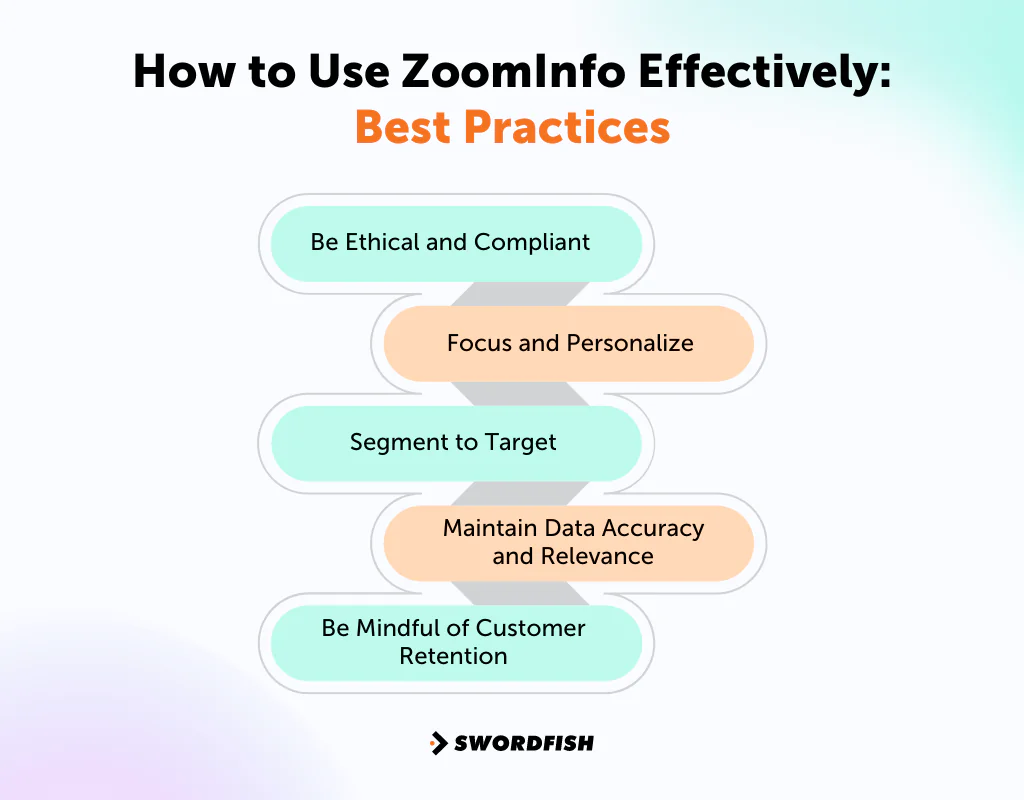
1. Be Ethical and Compliant
Respect privacy laws and data protection regulations like GDPR and CCPA. Use the data for legitimate business purposes and secure consent where it’s required, particularly relevant for teams handling healthcare provider contact data, where additional regulatory considerations often apply.
Regularly review the data you hold to confirm it’s current and being used responsibly. This maintains compliance and builds trust with contacts by respecting their privacy and data rights.
2. Focus and Personalize
ZoomInfo can transform sales prospecting by providing accurate, detailed contact information. To make prospecting more effective, focus on targeting the right audience through advanced search filters.
Personalize outreach based on what you learn, such as industry challenges or recent company news, to lift response rates.
Track your interactions and use analytics to refine your approach as you go.
3. Segment to Target
Use ZoomInfo to strengthen your marketing strategy by identifying and segmenting your target audience more accurately. Use platform insights to personalize content and campaigns.
Monitor engagement and adjust strategy based on the data and trends you observe. This creates more relevant, higher-impact campaigns instead of one-size-fits-all messaging.
4. Maintain Data Accuracy and Relevance
Confirm that data from ZoomInfo stays accurate and relevant to your business needs.
Regularly update contact lists and company information to reflect changes in the market or your own strategy. This keeps outreach effective and reduces the risk of working outdated leads.
5. Be Mindful of Customer Retention
Beyond prospecting and marketing, ZoomInfo can support retention.
Track customer updates, industry changes, and potential upsell or cross-sell opportunities.
Personalized communication based on updated information can improve customer satisfaction and loyalty.
Swordfish AI: The Best Alternative to ZoomInfo
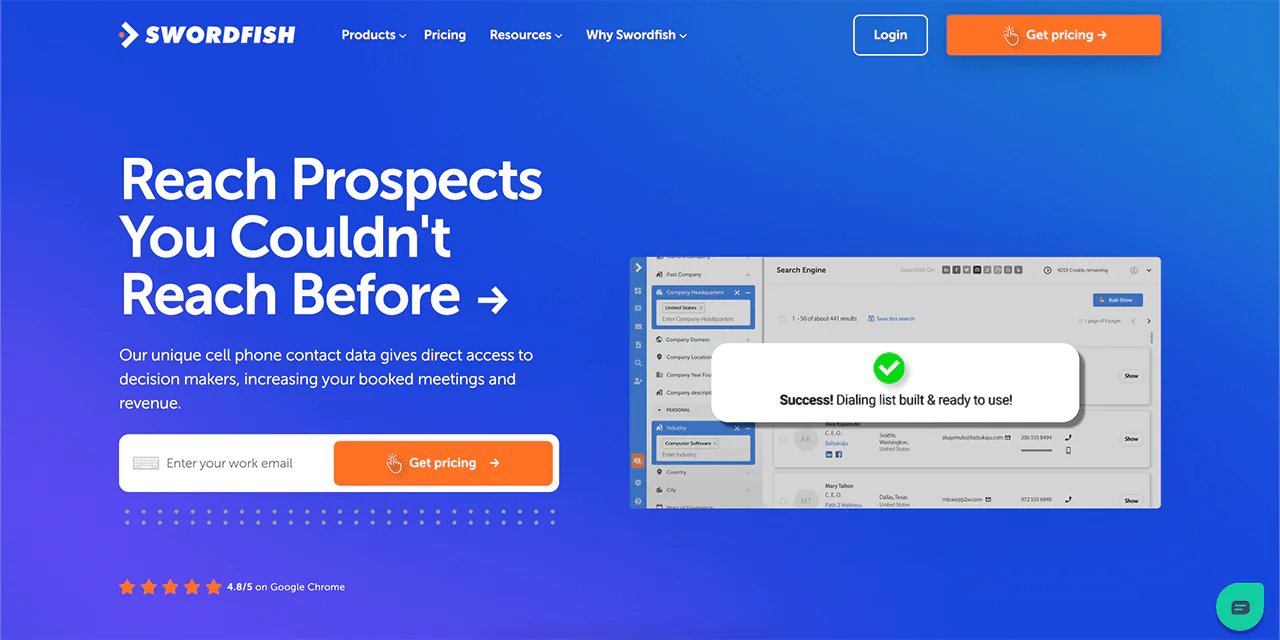
Swordfish AI takes a different approach to contact data than ZoomInfo, focusing on real-time verification and proprietary matching algorithms.
We work with over 3.5 billion data points and partnerships with 200 data providers, aimed at surfacing accurate, comprehensive contact information, including direct-dial mobile numbers that are especially valuable when reaching healthcare providers who are rarely at a desk.
Our system goes beyond standard SMTP protocol checks, giving you premium business email validation that supports lower bounce rates and more successful outreach.
Swordfish’s Chrome Extension, Prospector, File Upload, and Reverse Search features are built to serve sales, recruitment, and marketing teams with different workflows.
By prioritizing real-time data accuracy and unique cell phone data, Swordfish AI is built to be usable without a steep learning curve. You can build a richer contact database and run more efficient outreach without needing technical expertise.
How to Use Swordfish AI: Step-by-Step Guide
Swordfish AI is built to be simple to pick up, especially compared to ZoomInfo’s larger feature set. Here’s a step-by-step walkthrough.
Step 1: Initiate a Free Trial and Sign Up
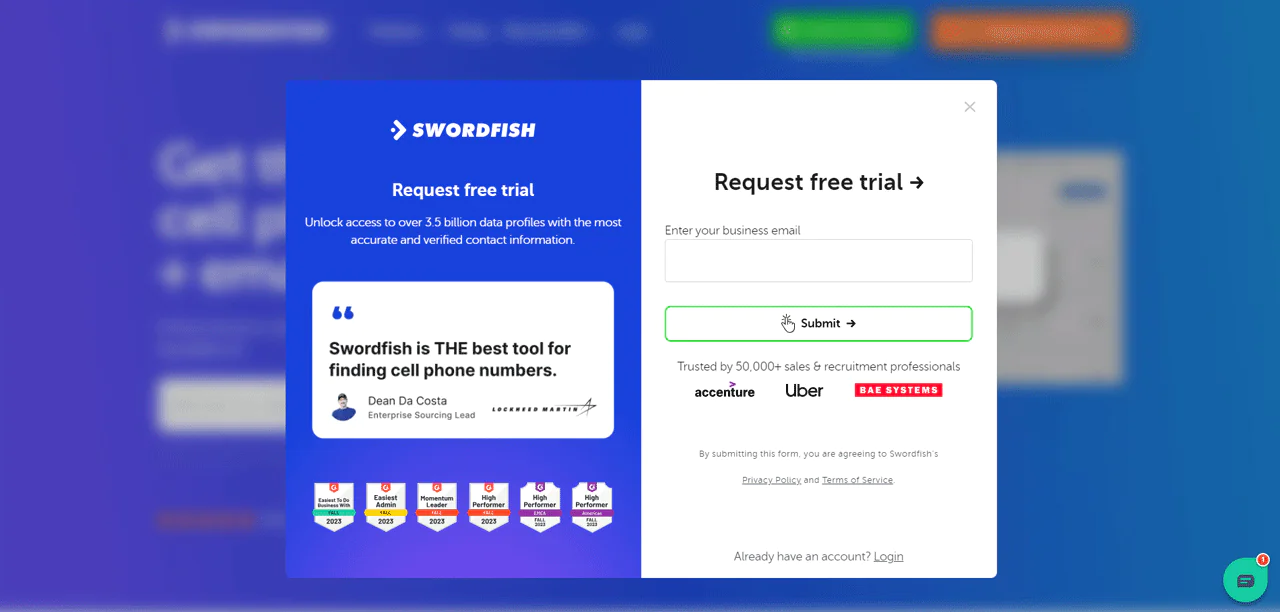
First, head over to the Swordfish AI homepage. Look for the free trial option at the top right corner and click on it. A pop-up will appear asking for your business email. Fill it in and submit it to move forward.
After entering your email, you’ll be guided through the sign-up process to unlock full access to all the features Swordfish AI offers.
Step 2: Use Info Prospector
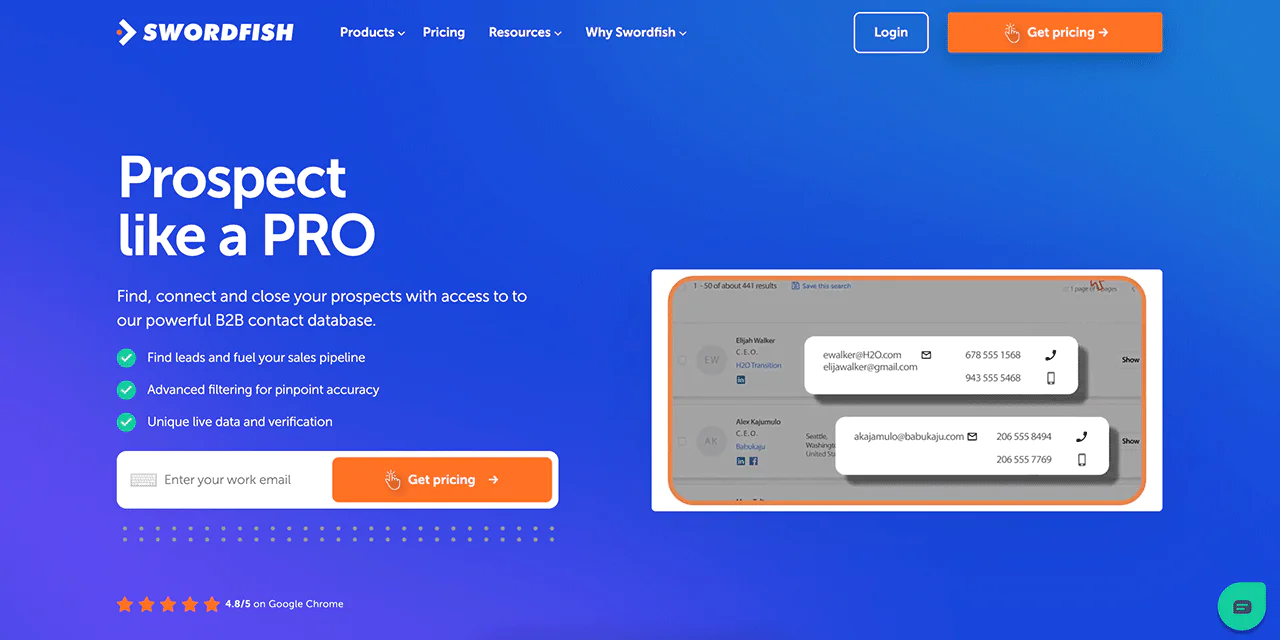
To use the
Prospector feature, enter specific details about your target audience, such as industry, job title, and location. Swordfish then scans various databases to provide a list of contacts matching your criteria.
Step 3: Add Chrome Extension
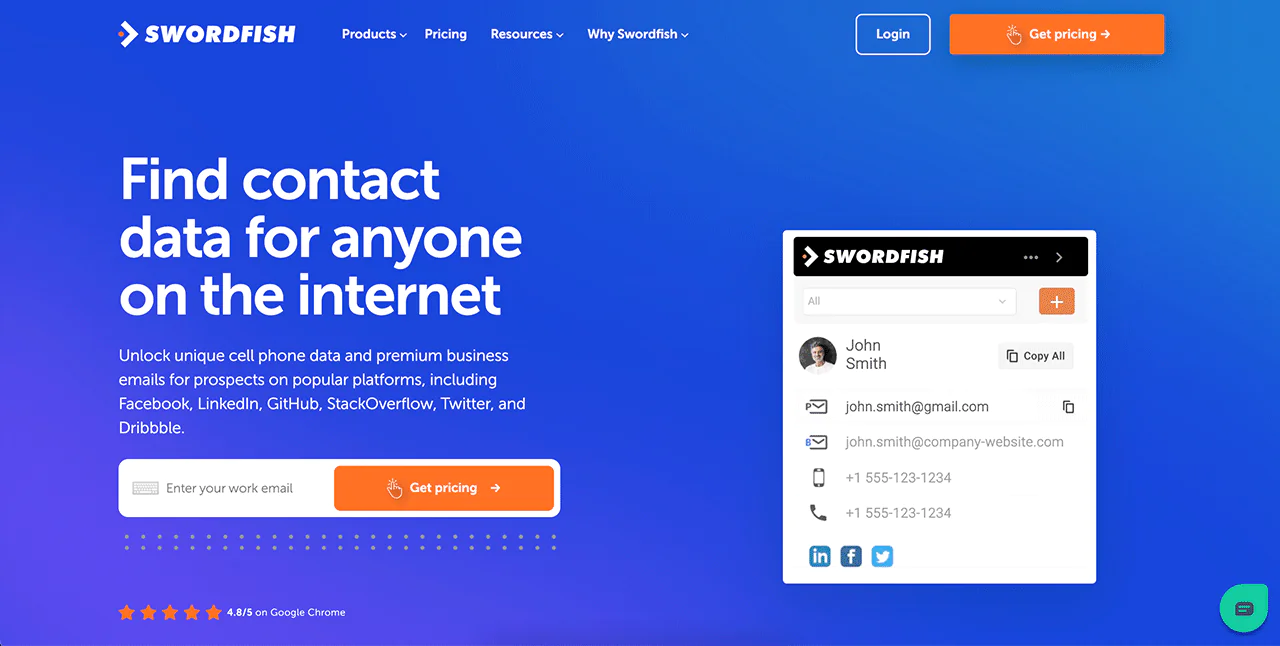
Install the
Swordfish Chrome extension from the Chrome Web Store. Once installed, click the extension icon while browsing supported platforms to find contact information for the profiles you view quickly.
Step 4: Prepare for File Upload
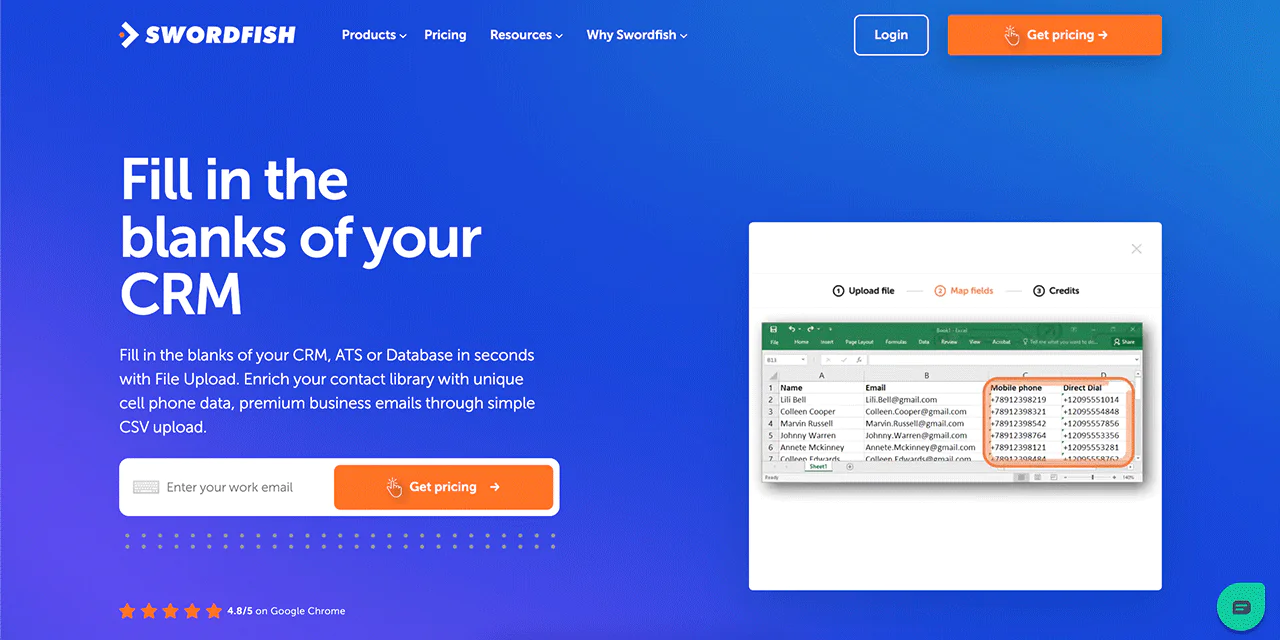
For the
File Upload feature, prepare a CSV file with the contact details you already have. Upload this file to Swordfish, and the service will enrich it with additional contact information like emails and phone numbers.
Step5: Utilize Reverse Search
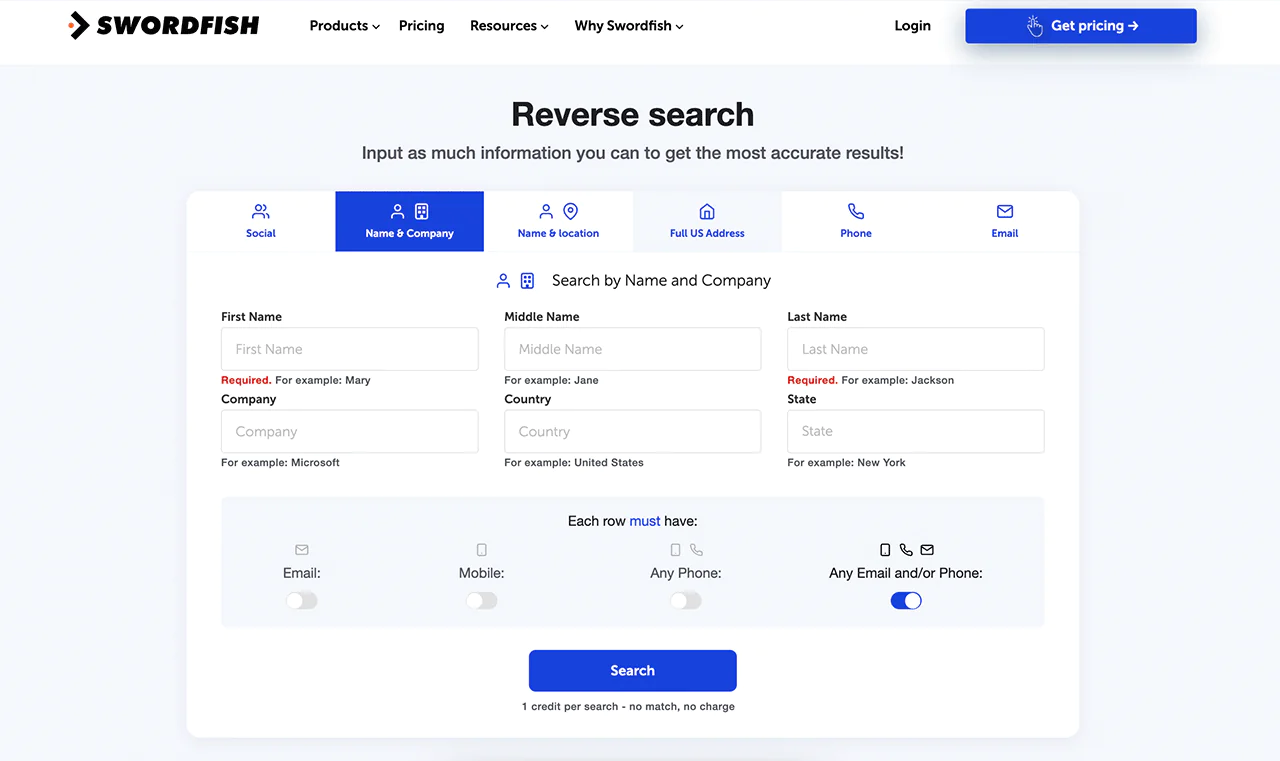
Use
Reverse Search by entering an email address or phone number into Swordfish. The tool returns full contact details for the associated individual, including their name, job title, and more.
Step 6: Use Bombora Intent Data
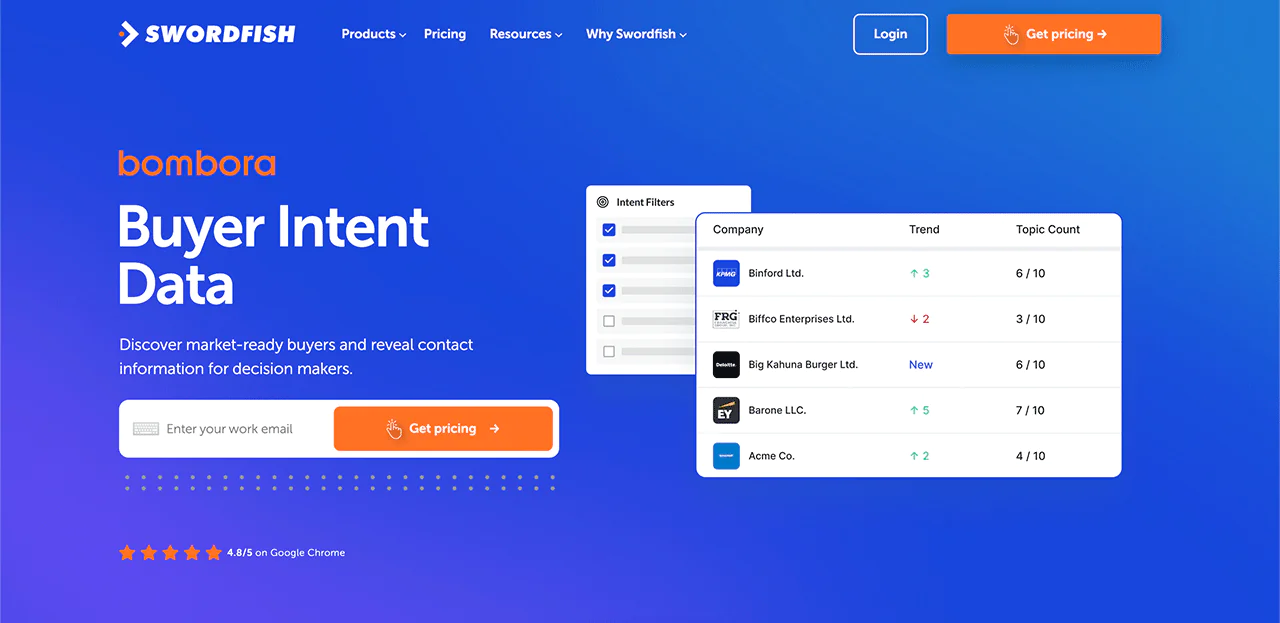
To use the
Bombora feature, first define your target market or audience interest. Swordfish integrates with Bombora to identify and prioritize leads based on their likelihood to engage or buy based on interest signals.
Step 7: Apply API Enrichment
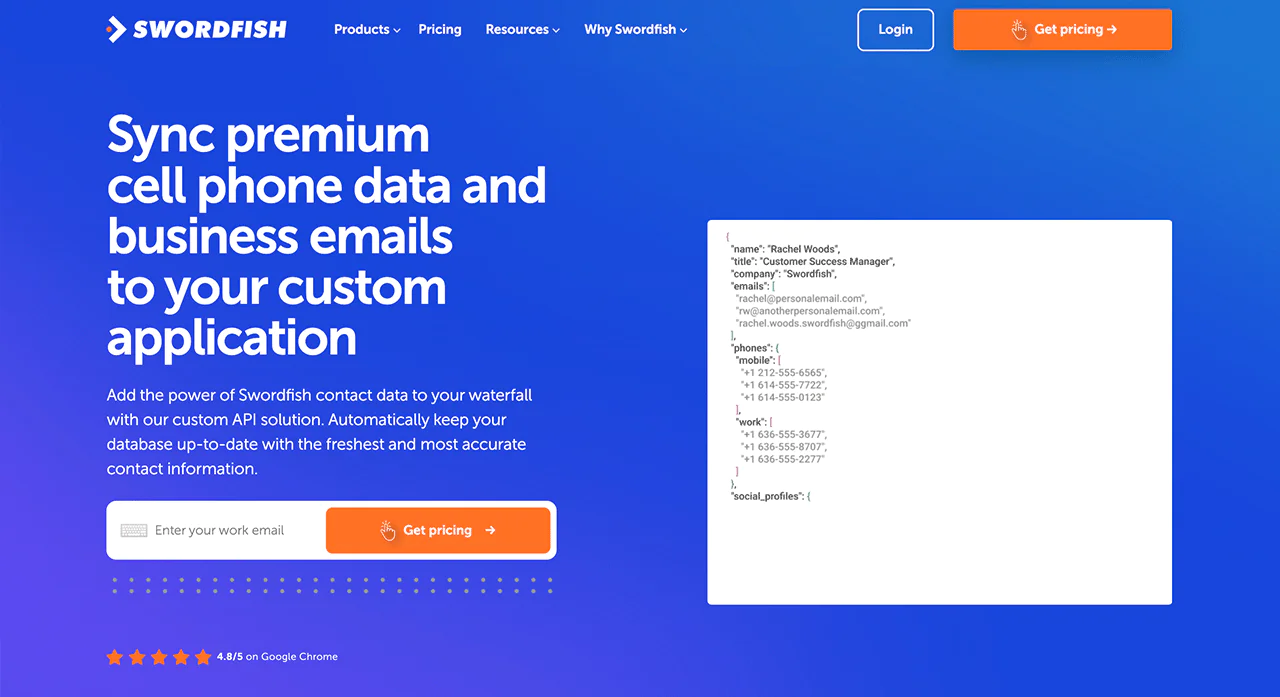
Contact our sales team to discuss your specific needs. At Swordfish, we tune your plan to fit your requirements, offering email-only or phone-only data options. You can improve your dial speed by
integrating with our API, supported by our dedicated customer success team for seamless implementation.
Step 8: Verify Emails
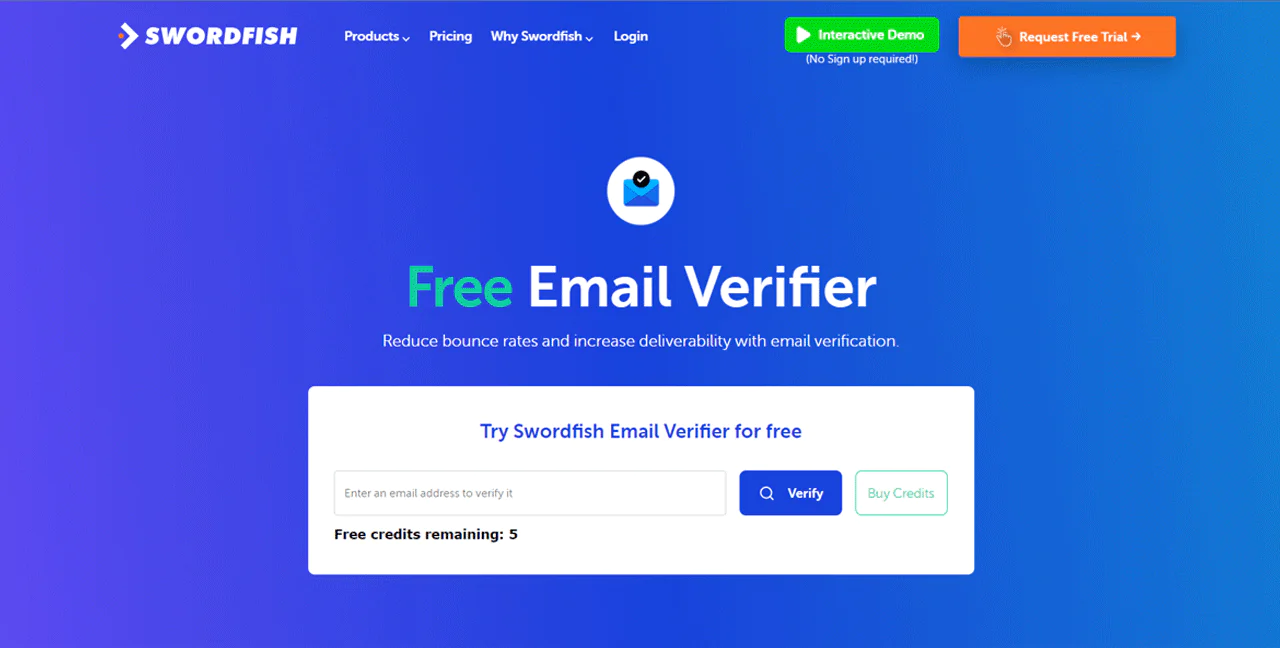
With the
Email Verifier feature, simply input the email addresses you wish to verify into Swordfish. The tool checks each email for validity, helping you clean your list by removing invalid or inactive email addresses.
Conclusion
This guide walked through the main ways to use ZoomInfo across sales, marketing, and talent acquisition. Used well, its data, advanced search, and automation tools can help you target the right prospects and get measurably better results.
That said, effective use depends on following data privacy rules, keeping records accurate, and applying ethical practices consistently. Personalize outreach, track engagement metrics, and refine your approach based on what the data actually shows rather than assumptions.
ZoomInfo’s breadth of features can feel like a lot, especially for small teams or anyone new to sales intelligence tools. If you’re looking for something more straightforward, Swordfish AI is built to simplify prospecting and outreach while still delivering useful contact data.
 Try Swordfish Ai
FAQs
Is ZoomInfo legal?
Yes, ZoomInfo operates legally by complying with data privacy laws and regulations, including GDPR and CCPA. It gathers data through publicly accessible sources and consent-based methods, aiming to align its practices with legal standards and respect individual privacy rights.
How often is ZoomInfo’s database updated?
ZoomInfo’s database is updated continuously. The company uses machine learning and automated processes to handle large volumes of data daily, which helps keep its records current and reduces staleness compared to static contact lists.
Can ZoomInfo integrate with any CRM platform?
ZoomInfo integrates with many major CRM platforms, including Salesforce, HubSpot, and Microsoft Dynamics. While it supports these systems natively, connecting to a less common CRM may require checking compatibility or building a custom integration through its API.